Let's start with a new document with the following settings: 760x770 pixels, and with a white background.
Duplicate the background layer ( to duplicate the layer please be sure you have the layer selected, then press Ctrl+J ).
With this new layer selected, go to Filter > noise > Add noise and use the following settings:
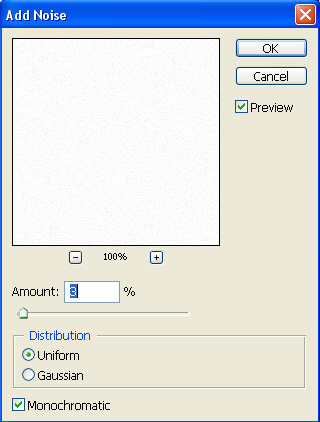
Then Press Ctrl+I to invert the colors. You will have a black background. Do not worry. This is normal.
Create a new layer above this last layer ( to create a new layer press Ctrl+Shift+Alt+N ).
Change the foreground color to : #f3b502 and the background color to : #da5d03.
Then with gradient tool draw a line from the top of your canvas to the bottom.
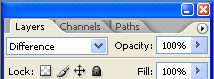
After you will release the mouse button, please change the blending mode for this layer to difference:
Select Rounded Rectangle tool, and crate a white shape:
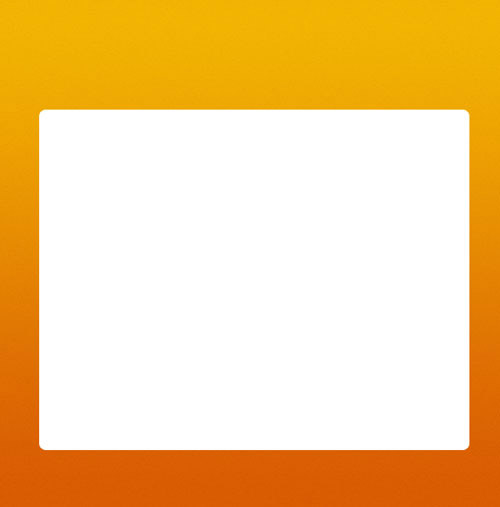
Then with the same tool create another shape, this time create this shape a little smaller, and with a light gray #ebebeb.

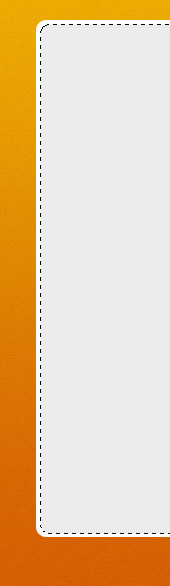
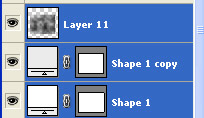
Now we will load the selection for the small gray shape. To load the selection hold down the Ctrl key down, and with left mouse button, click on the layer thumbnail like in the following image:
![]()
You can see a selection around the small gray shape:
Create a new layer ( press Ctrl+Shift+Alt+N ), then press on D. This action will reset the colors to black and white:
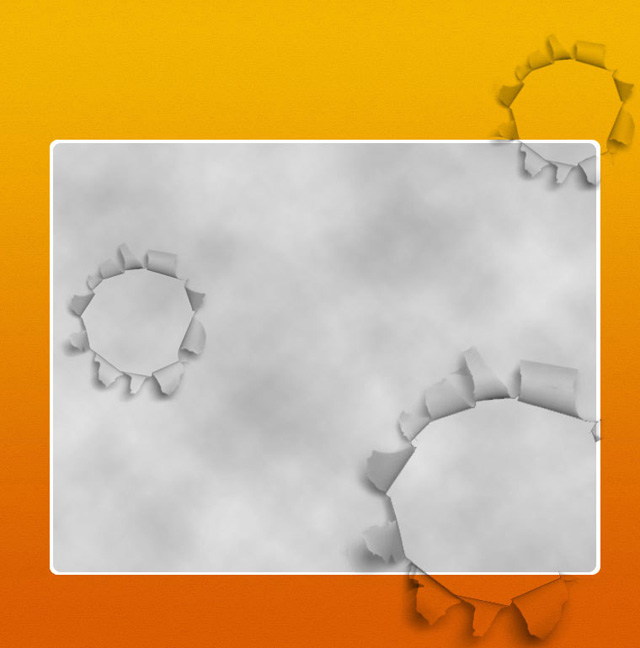
Now go to Filter > Render > Clouds.You will see some nice clouds on your layout:
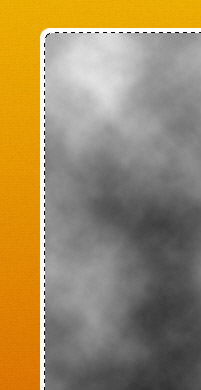
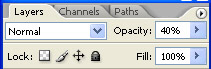
Press Ctrl+D to deselect, then lower the opacity of this layer with clouds to 40 %:
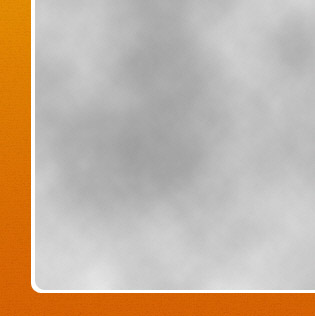
This is my result:
Now please select all the layers except background layer, and press on Ctrl+E ( this shortcut action will merge all the layers into a single one ).
I have created for you a nice set of brushes. It is available on www.photo-shop-brush.com. Please download the brush set and load it in photoshop.
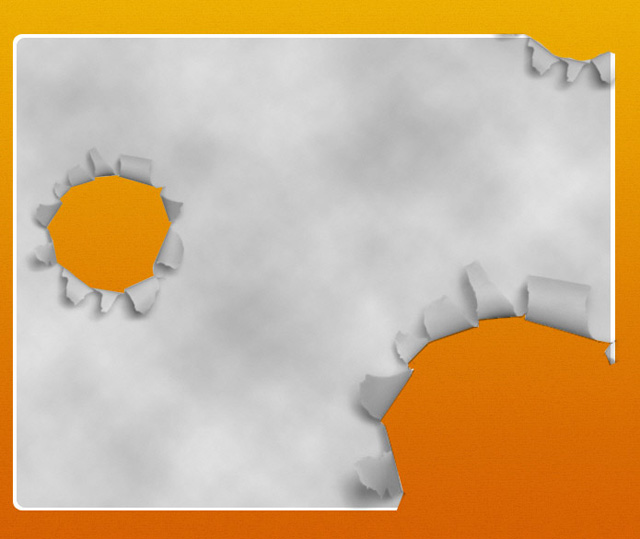
Then with the first brush from this set, create the following drawings:
Now select Eraser tool and with a small brush delete some parts of the layer until you have the same result like mine:
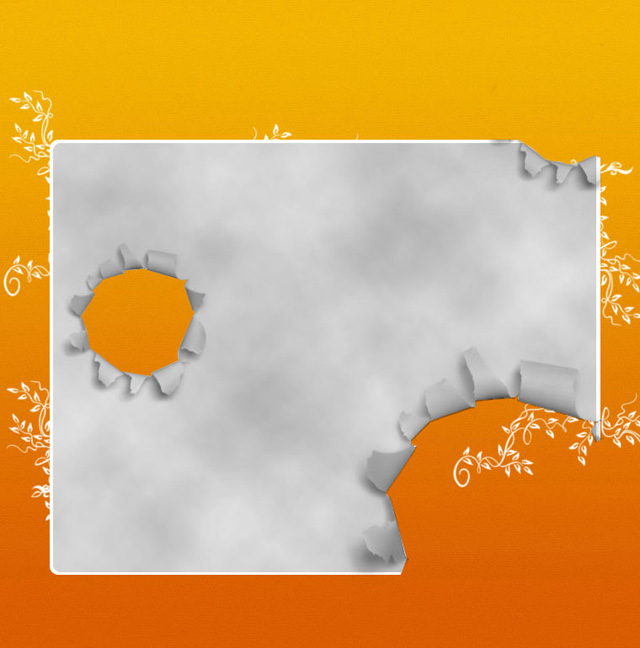
Now I will add another new layer ( press Ctrl+Shift+Alt+N ) and I will use a single brush from Talk-Mania Big-Pack. If you don't know in this pack you have over 4000 different brushes in 3 different sizes ( almost 12.000 brushes ). In case you don't have the big pack I recommend you to buy it, because it will save a lot of precious time.
For example I am creating this layout in less then 20 minutes with the help of this pack.
After I have played a few seconds this is my result:
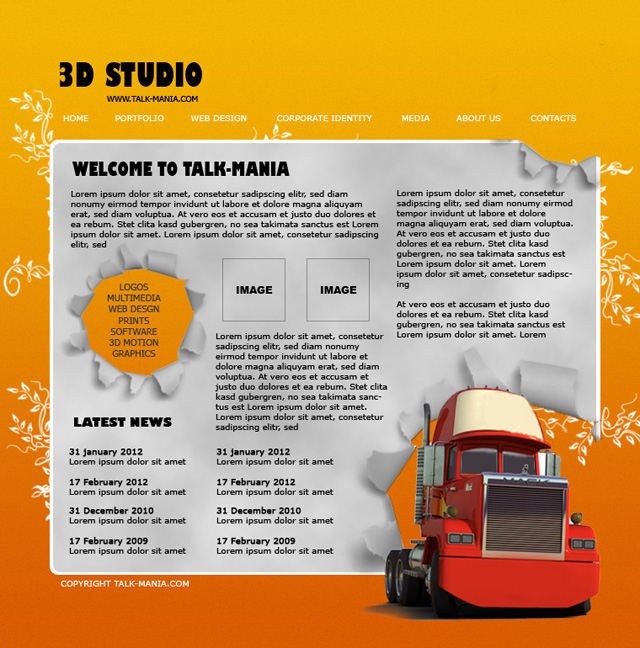
Now I will place a 3D rendering with a nice 3D truck. In the same time I will also some text on my layout with Type Tool. This is my final result. I hope you like it!
No comments:
Post a Comment