Let's get started!
01. Step
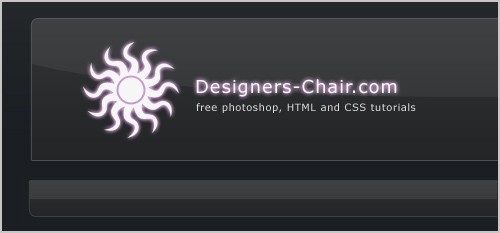
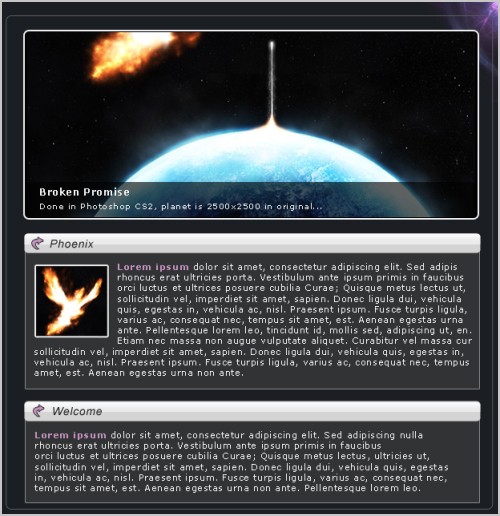
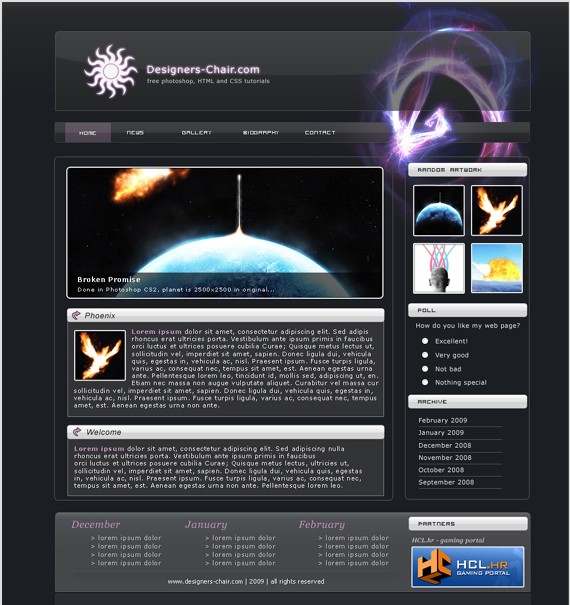
Before we get to work we need to decide how are web page is gonna look. So here is the basic concept:
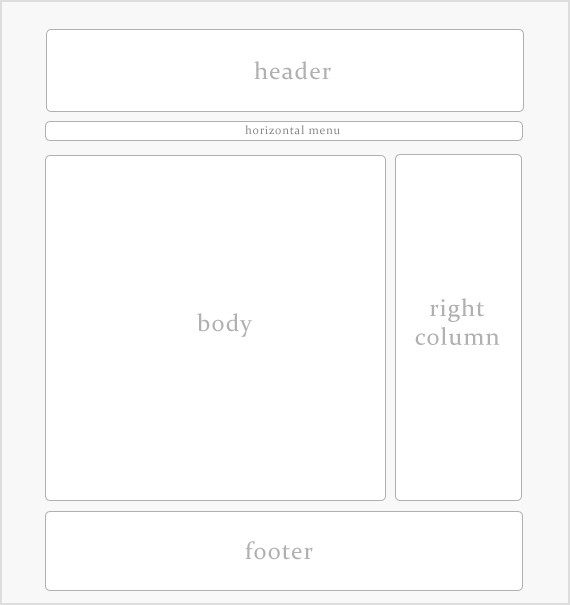
It will be 850px in width.
02. Step
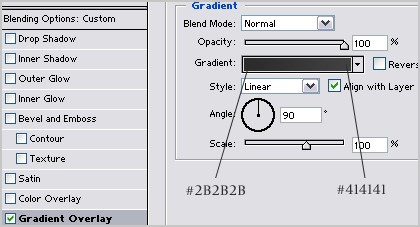
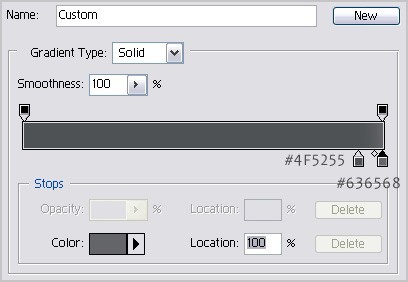
Create a new document, size 1024x1080, add a new layer (Ctrl+Shift+N) named "background" , fill it with any color and under Gradient Overlay in Blending Options apply the following settings:
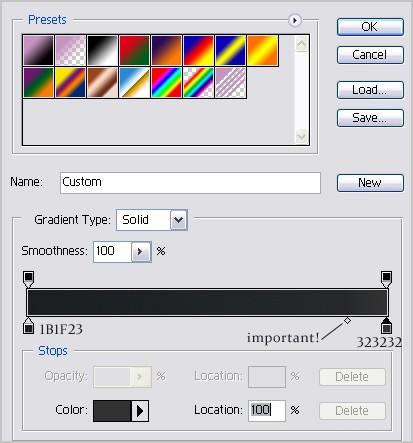
Color Midpoint must be closer to the right Color Stop!
03. Step
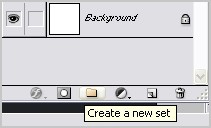
Create a new set and name it "header". From now we will work in this "folder".
Using Rounded Rectangle Tool (radius: 5px) draw header. It should be 850x200 px, about 30px from the top. Rasterize it, reduce opacity to 65% and apply these blending options:

Name it "header".
04. Step
Create a new layer (still in "header" set) and name it "ref" (short for reflection). Select Elliptical Marquee Tool, click on point 1 and drag it to point 2:
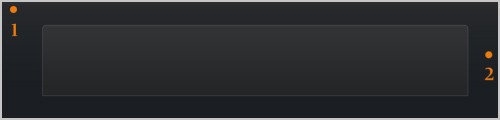
Fill that selection with #FFFFFF, then press Ctrl+D to deselect it. Click once on the layer "header" on the right side (layer box) while holding Ctrl. Layer "header" should be selected now. Press Shift+Ctrl+I or go Select > Inverse to inverse selection. Select layer "ref" (just click once on it in the right menu) and press delete on your keyboard. Now reduce opacity to 6%.
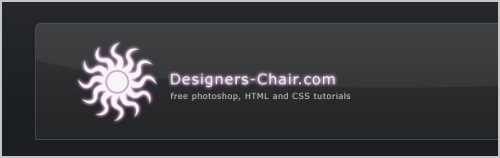
Your header should now look like this:
Add your logo on the left (i used Sun 1 shape from Custom Shape Tool), write web site name next to it (i used Verdana - 18pt) and under it short description (Verdana - 11pt). Logo and site name have Outer Glow on them (color: #FBB1FF).
05. Step
Layer set "header" is now finished. Create a new layer set and name it "hor_menu".
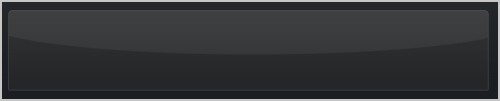
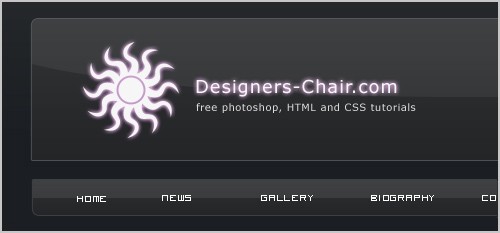
Using Rounded Rectangle Tool (radius: 5px) draw horizontal menu. It should be 850x35 px, about 20px under the header. Rasterize it, reduce opacity to 50% (name it "horizontal") and apply these blending options:


It should look like this:
Now click on the layer "horizontal" (in the right menu) while holding Ctrl to load selection.

Using Rectangular Marquee Tool deselect the lower half of that selection (hold Alt key). Create a new layer, name it "ref" and fill that selection with #FFFFFF. Reduce opacity to 6%.
Using Visitor TT2 font write the categories of your web page on it (still in "hor_menu" layer set). Size 16pt.
06. Step
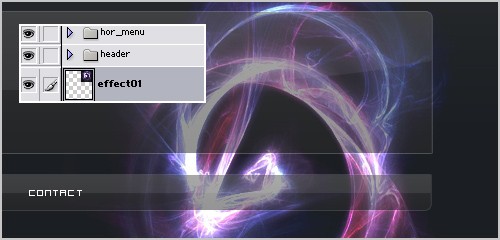
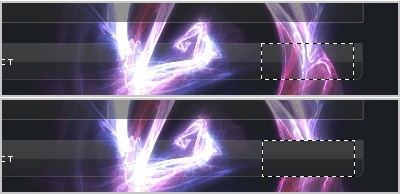
Now we are going to add some effect to the right. I used free stock picture (credit: sweetaslemons). Click here to open it and then save it on your hard drive. This effect looks cool and is actually really easy to make. It was created using an application called Apophysis. I will do a special tutorial on how to make effect like that so be sure to check back in a few days.
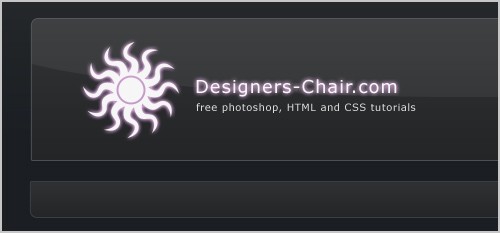
Import that effect (JPG file) into your project, set blend mode to Lighten and position it right. Layer "effect" needs to be under layer set "header" and "hor_menu".
Copy layer "effect01″ and move it above "hor_menu" layer set. Make the following selection and then press delete (layer "effect01_copy" must be selected).
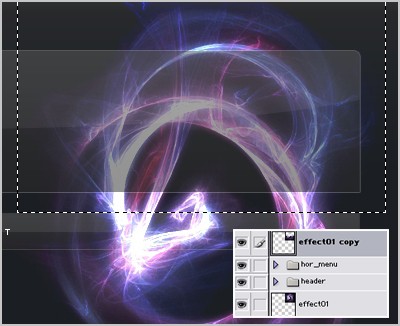
Now it looks like the effect is coming under the "header" and above "hor_menu". Next, make following selection using Rectangular Marquee Tool and delete that selection on layers "effect01″ and "effect01_copy".
07. Step
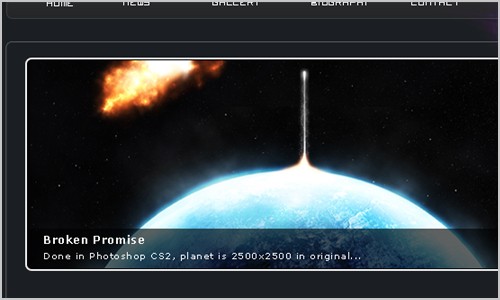
Create a new layer set and name it body. Using Rounded Rectangle Tool (radius: 5px) draw the body. It should be 600x620 px, about 30px under the horizontal menu. Rasterize it, fill it with #000000, set blend mode to Lighten and under Blending Options make Stroke 1px #595C5F.
On the top we will put some kind of AJAX image rotator that will display best artwork with short description. So using Rounded Rectangle Tool (radius: 5px) draw the shape of the rotator. It should be 565x265. Put some image inside and a short description just for example.
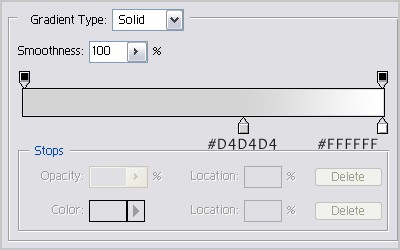
Under it using Rounded Rectangle Tool (radius: 5px) draw shape similar to the one below, fill it with any color and apply the following Gradient settings under Blending Mode:
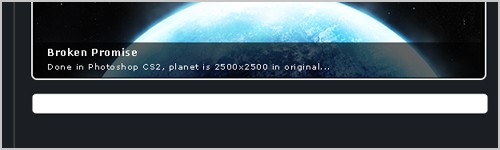
Name that layer "gray_bar". Create reflection for it like you did for horizontal menu, add some text and the body is finished. You can add text container using Rectangular Marquee Tool. Fill it with #323335 and stroke #87888A 1px.
08. Step
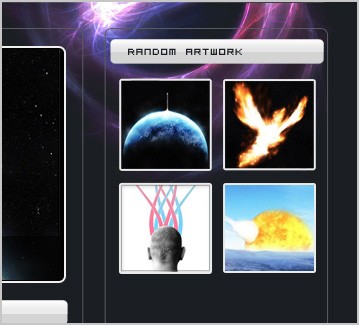
Now create a new layer set and name it "right_column". Using Rounded Rectangle Tool (radius: 5px) draw the right column. It should be 240x620 px, about 30px under the horizontal menu. Rasterize it, fill it with #000000, set blend mode to Lighten and under Blending Options make Stroke 1px #595C5F.
Copy the "gray bar" from the body layer set, write "Random artwork" on it (Visitor TT2 16pt). There you can put thumbnails of your pictures.
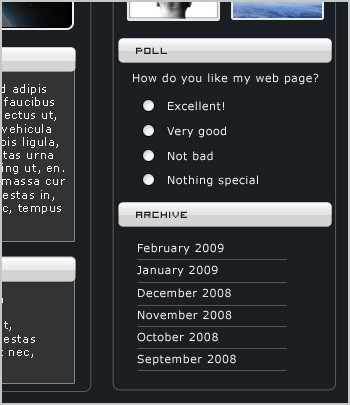
Add "Poll" and the "Archive" the same way you did "random artwork".
09. Step
Create a new layer set and name it "footer". Using Rounded Rectangle Tool (radius: 5px) the footer. It should be 850x158 px, about 30px under the body. Rasterize it, fill it with any color and apply these blending options:
Gradient:
Stroke: 1px, opacity: 27%, color: #FFFFFF.
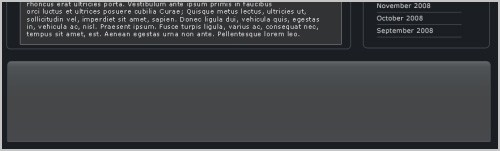
Using 18px Georgia (#C594C1) write down some months just for example, and under them names of the articles.

Using Line Tool draw a straight line under them and put your copyright there. On the right you can add small banner that links to your partners/friends web site.

That's it! Hope you have learned something!
No comments:
Post a Comment